If your daily workflow calls for you to repeatedly convert images—for uploading to a blog, for instance—using a Folder Action can be a much faster way to complete the task. In macOS, you can easily convert the format of images using a Quick Action in the Finder or you can accomplish the same thing via the Preview app.
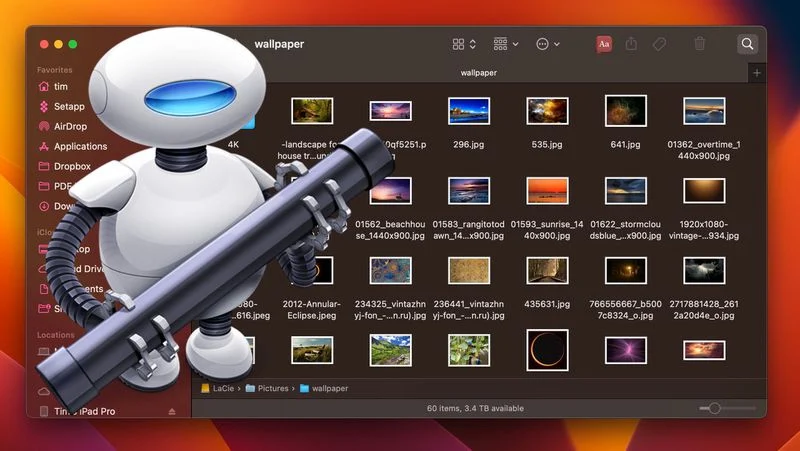
In this post, we’ll demonstrate how to use the macOS Automator tool to make a very basic Folder Action that can convert photograph-s dropped into a particular folder automatically, saving you the time and hassle of having to manually run a Quick Action or use an image editing program. To find out how to accomplish it, continue reading.
MacOS How to Set Up an Automator Image Conversion Folder
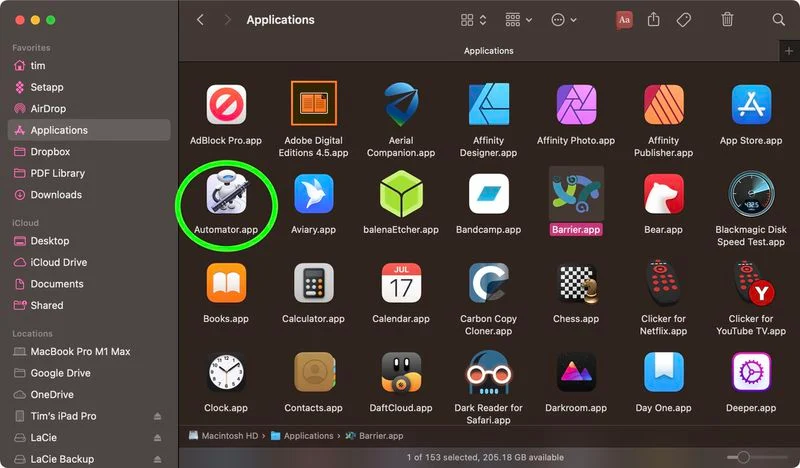
- MacOS Open Automator by selecting it in the Applications list.

- Then select New Document.
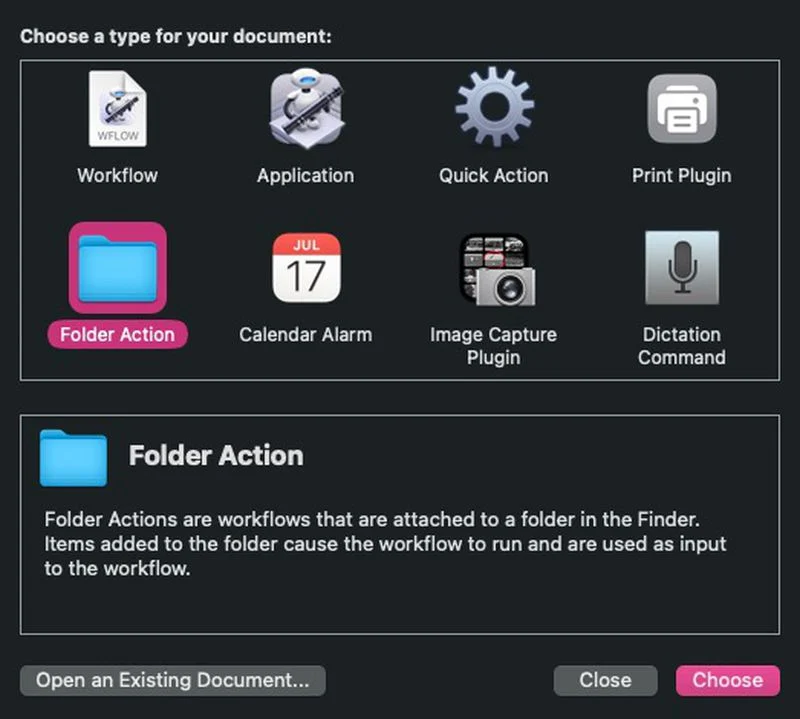
- Select Folder Action as the document type.

- Select Other from the dropdown menu next to Folder Action gets files and folders added, which is located at the top of the workflow section.

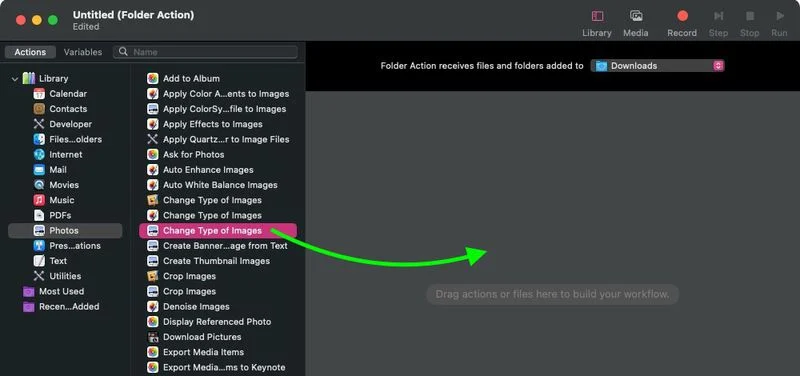
- Choose the folder you want to be responsible for the picture conversion action. In the case we’re using, we’re selecting the Downloads folder.
- Choose Photos from the Library sidebar on the far left.
- Drag Change Type of Images (the action with the preview icon) to the workflow area from the Actions column.

- A dialogue box will pop up. Select Add if you wish to convert copies of the photographs that have been stored in the folder while keeping the originals. Choose Don’t Add if you want it to convert the original photos.
- Select the type of format to which you wish to convert images in the Change Type of Images action window. We’re going with JPG.

- Choose File -> Save from the Automator menu bar, or press Command-S, name your new file action “Convert Image,” and click Save.
All there is to it is that. Drag an image into the folder you designated for the operation the next time you wish to convert it to your preferred format.
You may want to convert the image conversion workflow you created in Automator into a stand-alone “Application,” for which you can find the option in Automator’s document menu. Any files or folders dumped onto an “Application” behave as input to the self-running workflow because it serves as a droplet. In other words, you could drag and drop photographs onto an “Application” that you added to your Dock to convert them.
Workflows from Automator can also be imported into the Shortcuts app. Drag a workflow file into Shortcuts, and the conversion will take place automatically. Most Automator workflows may be converted into shortcuts that perform the same actions, events, and automation.
To get real-time news alerts join the Technewsrooms Telegram group. You can also follow us on Twitter and subscribe to our Google News feed for updates.


